BOARD BRING-UP PROCEDURES FOR ARDUINO NANO 33 BLE SENSE BOARD
A Practical Embedded Systems Learning Guide by ISM UNIV
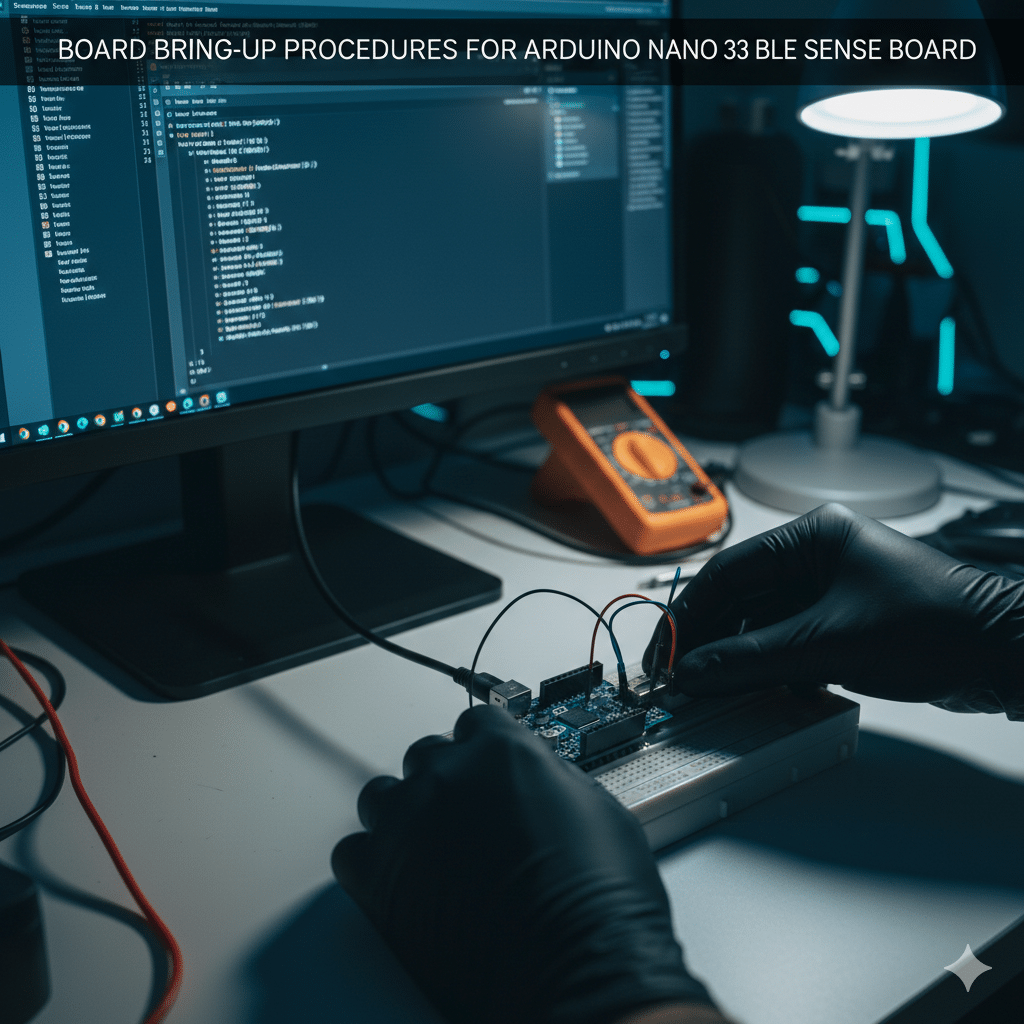
A solid foundation is always necessary for effective project development in the realm of Embedded Systems and IoT. One of the most important early tasks is board bring-up, which is a methodical process for confirming hardware functionality before moving on to application-level development.
Students at ISM UNIV are taught to use industry-standard bring-up methods to ensure dependability, efficiency, and professional debugging techniques. This blog describes how to set up the Arduino Nano 33 BLE Sense, a popular development board for IoT, TinyML, AIoT, and sensor-based applications.
Why Board Bring-Ups Matter in Embedded Systems Training
Engineers in real-world industries are expected to:
- Safely power on new hardware.
- Check microcontroller and peripherals.
- Troubleshoot hardware-software integration problems.
- Verify communication interfaces and sensors.
Board bringing up is taught as a key practical skill at ISM UNIV, not simply theory. This technique prepares students for careers in product creation, research and development, and embedded testing.
Industry-Relevant Board Overview for the Arduino Nano 33 BLE Sense
The Arduino Nano 33 BLE Sense’s broad sensor integration and BLE functionality make it a popular choice for ISM UNIV’s Embedded Systems, IoT, and TinyML training programs.
Key Technical Highlights:
Microcontroller: Nordic nRF52840 (ARM Cortex-M4F, 64 MHz)
Operating Voltage: 3.3 V
Wireless Connectivity: Bluetooth Low Energy (BLE)
Onboard Sensors:
- BMI270 (Accelerometer & Gyroscope)
- BMM150 (Magnetometer)
- HTS221 (Temperature & Humidity)
- LPS22HB (Pressure Sensor)
- APDS9960 (Gesture & Proximity) MP34DT05 (Digital Microphone)
This board is perfect for real-time sensor data applications taught at ISM UNIV, rapid prototyping, and hands-on learning.
Tools Used in ISM UNIV Embedded Labs
- Arduino Nano 33 BLE Sense Board
- USB Micro-B Data Cable
- PC / Laptop
- Arduino IDE (Latest Version)
- Serial Monitor
- Multimeter (for power analysis)
Professional debugging tools and development environments are taught to ISM UNIV students.
Detailed Board Bring-Up Process (ISM UNIV Lab Procedure)
Visual examination (hardware verification)
- Examine the PCB, parts, and connectors.
- Look for damage from soldering or physical contact.
- Industry Skill: Finding faults and inspecting hardware
Verification of Power Supplies
- Using USB, power the board.
- Verify the Power LED status.
- Accomplishment: Comprehending board power architecture
USB Enumeration Test
- Check the OS for board detection.
- Verify the COM port assignment.
- Industry Proficiency: Debugging USB interfaces
Configuring the Arduino Board and IDE
- Set up Mbed OS Nano Boards for Arduino
- Choose the proper board and port.
- Learning Objective: Setting up a development environment
Bootloader and LED Test (First Upload of Firmware)
- Upload a sample of Blink
- See how LEDs behave.
- Industry Proficiency: Bootloader validation and flash programming
Verification of Serial Communications
- Examine USB-Serial connectivity
- Data on the Serial Monitor
- Learning Objective: Using serial logs for debugging
Validation and Sensor Bring-Up
ISM UNIV students independently check each onboard sensor:
- Motion sensors (BMI270)
- Environmental sensors (LTS22HB, HTS221)
- Gesture and microphone sensors
- Industry expertise: data collection and sensor interfaces
I2C Bus Scanning
- Find sensor addresses on the I/C bus.
- Learning Objective: Verification of communication protocol
Bring-Up Bluetooth Low Energy (BLE)
- Upload an example of BLE
- Test the connection and advertisement
- Industry Expertise: Testing wireless communication
Advanced Lab: Analysis of Power Consumption
- Determine the current draw
- Compare the figures on the datasheet.
- Industry expertise: embedded systems with low power consumption
Typical Board Bring-Up Problems
Issue | Industry Cause | Debugging Approach |
Board not detected | Faulty USB cable | Cable & driver validation |
Upload error | Wrong board selection | IDE configuration check |
Sensor failure | Missing library | Dependency analysis |
No serial data | Baud mismatch | Serial debugging |
Bring-Up Checklist Used in ISM UNIV Labs
- Power integrity verified
- Bootloader functional
- Serial communication stable
- Sensors validated
- BLE tested successfully
This checklist mirrors real industry bring-up documentation standards.
How ISM UNIV Training Programs Incorporate This
This process for bringing up the board is a component of:
- Embedded Systems Education
- AIoT and IoT Programs
- TinyML on Edge Technology
- Real-Time Sensor-Based Initiatives
ISM UNIV places a strong emphasis on experiential learning, guaranteeing that students obtain practical experience that aligns with industry standards.
Conclusion
The Arduino Nano 33 BLE Sense board bring-up method is a professional embedded engineering practice, not just a setup procedure. Students at ISM UNIV receive systematic bring-up methodology training that equips them for real-world product development, R&D settings, and industrial responsibilities.
Every embedded engineer needs to have a solid bring-up foundation in order to guarantee dependable systems, effective debugging, and confidence project execution.
Tags
#Arduino Nano 33 BLE Sense #Arduino Nano 33 BLE Sense board bring up #Board bring up procedures #Embedded systems board bring up #Arduino BLE Sense tutorial #nRF52840 bring up process #Embedded systems training at ISM UNIV #IoT board bring up methodology #Arduino Nano 33 BLE Sense sensors #BLE bring up testing #I2C sensor bring up #Arduino Nano 33 BLE Sense BLE tutorial #Embedded systems practical training #IoT and TinyML training #Arduino board testing and validation #Embedded systems lab manual #Arduino Nano 33 BLE Sense projects #Low power embedded systems #Embedded systems placement training #ISM UNIV Embedded Systems course